Discover Drypoint Etching

What is Drypoint Etching?
Drypoint is an intaglio method of printmaking where a tool is used to etch a design into the surface of a plate. This etched line has a burr along the edge, which gives drypoint etchings their distinctive smooth, velvety lines.
Creating a Drypoint plate:
Drypoint plates do not need prior preparation and can be made on any relatively soft surface, for example a plastic/acrylic sheet or a metal plate such as zinc or copper.
Technician Tips
- The beauty of an acrylic or perspex plate is that it’s clear and you can place the plate over your image, tracing the image through. Especially useful if creating a multi plate design.
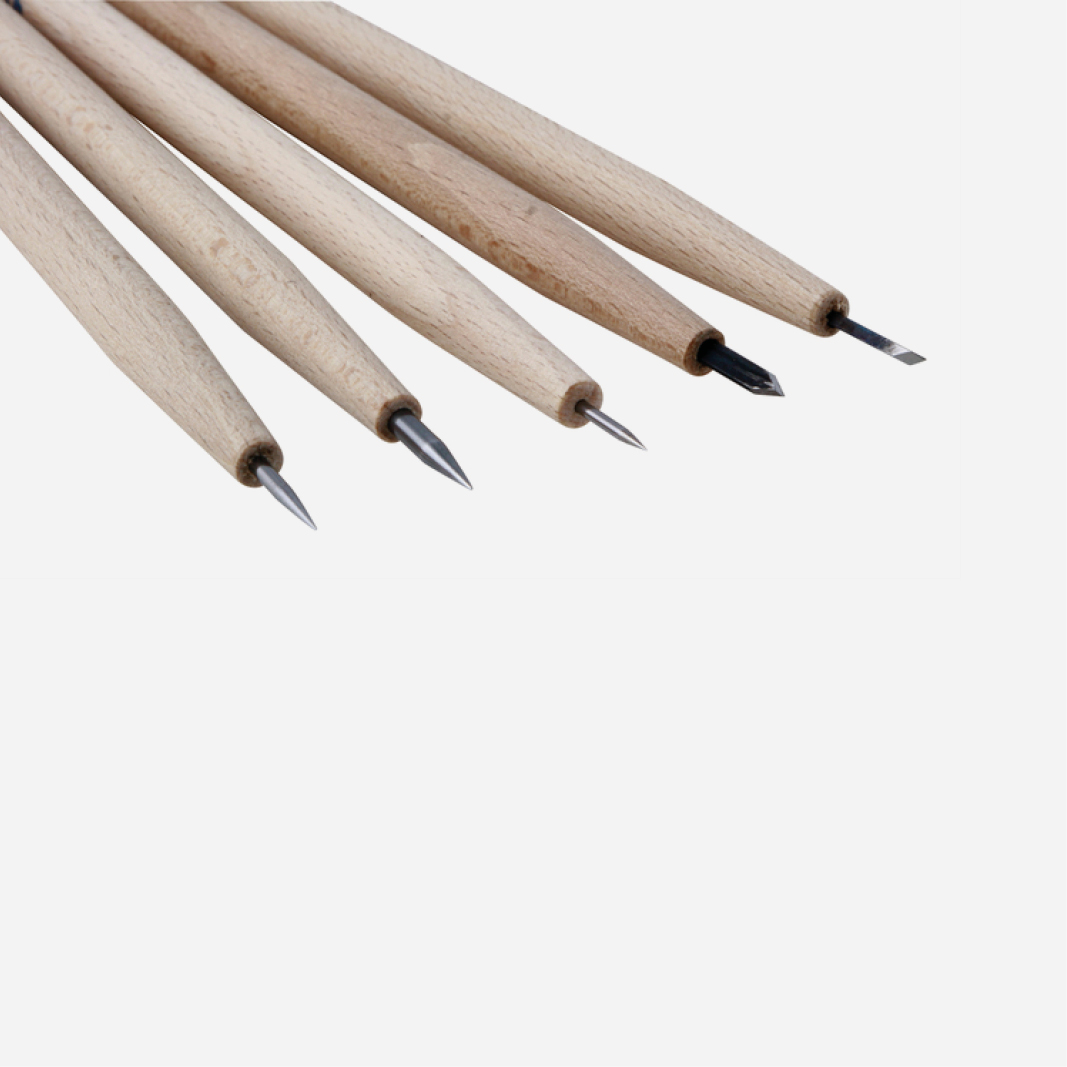
- Draw your design into your plate using a drypoint tool to scratch into the surface.
- To get a variation of lines, press harder or lighter with your etching tool, use crosshatching to create areas of tone and deepen lines by drawing two together and shading in between.
- Start with a simple etching needle or scribe. Other tools with interesting textures can be used too, to achieve a variety of marks and darker tones.
- Remember that your printed image will be the reverse of what you etch!
Preparing your paper
- Place your paper in a water bath/container for at least 5 minutes before printing. The time will vary according to the type/weight of paper that you are using. The thicker/heavier the paper, the longer the soaking time.
- When you are ready to print, remove your paper from the water and then place between two sheets of blotting paper to blot off any excess water on the surface of the paper.
- Your paper needs to be damp and soft to print, not wet.
- Keep your hands clean at all time at this stage, so as not to mark the paper.
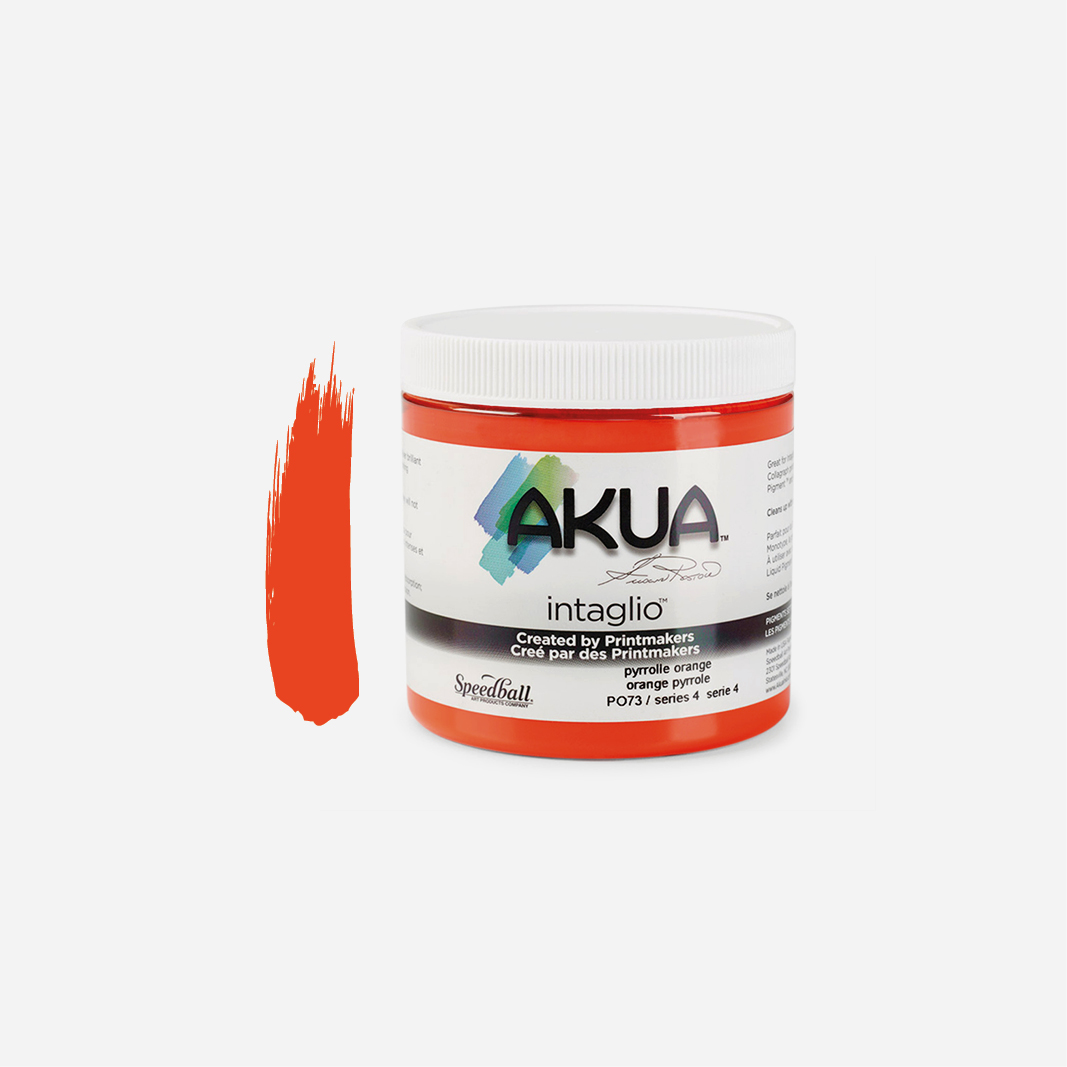
Inking up
- Using a rigid, solid blade, which can even be a card spatula, spread a small amount of ink all over your plate.
- Using a piece of scrim, push the ink into the etched areas.
- Once you have covered your etched area, start to wipe the plate, wiping excess ink from the surface – use smooth strokes in the same direction, turning the plates as you go.
- Finish cleaning your plate with soft tissue (paper), polishing the surface gently, taking care not to lift the ink out of the etched marks. Clean the bevelled edges.
- If colour printing, apply each colour separately, wiping down in the same method as described above. Use a separate piece of scrim to rub each coloured ink into separate areas on the plate. Wipe each colour down first, before the next is applied - some merging of colour will occur.
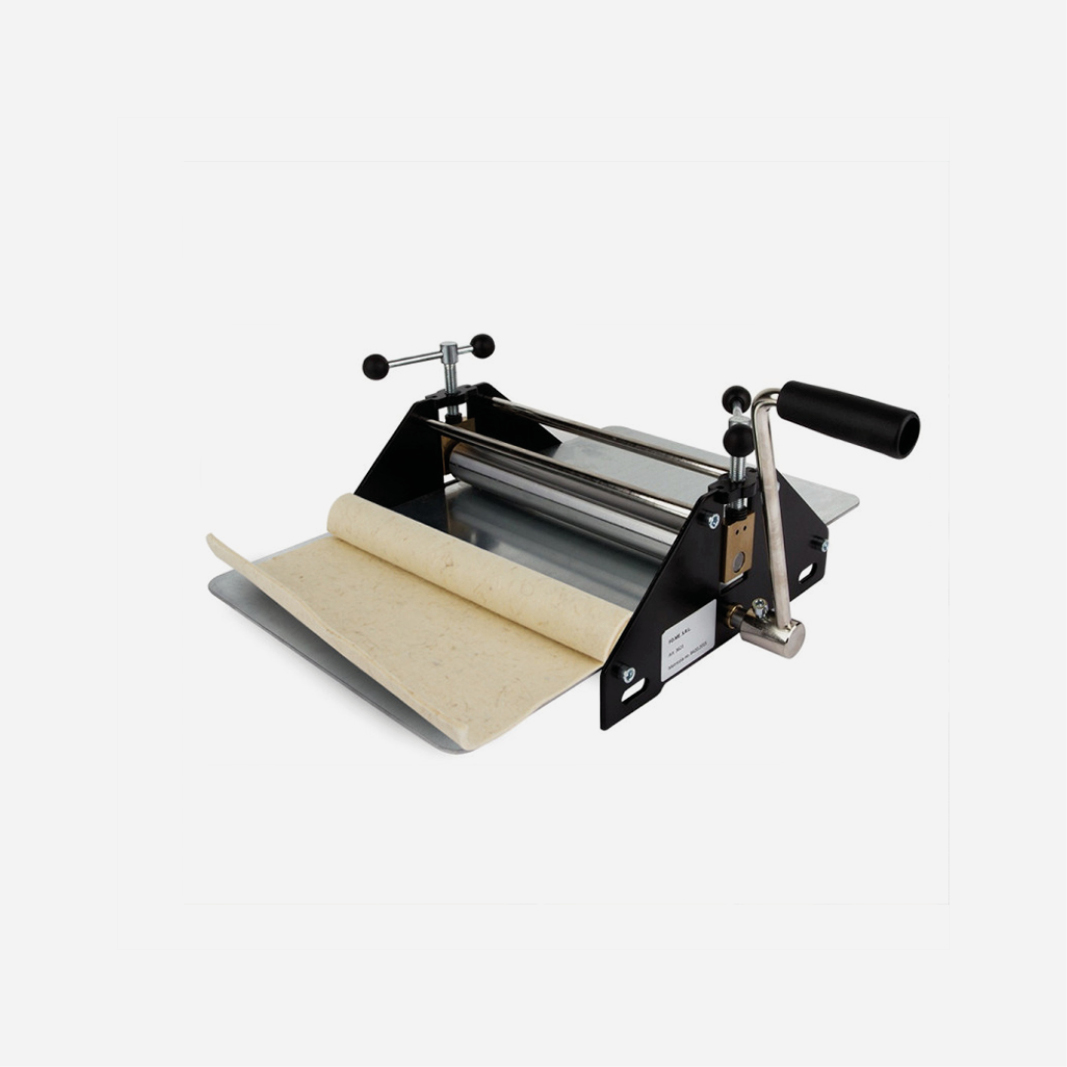
Printing – the fun stage!
- Place your inked plate upright on the press bed with a sheet of newsprint underneath.
- Place your dampened paper on to the plate with a piece of newsprint on top of that.
- Smooth the blankets carefully over the plate and wind through the press bed at even speed.
- When rolled through, fold back the blankets carefully and peel of print with clean hands.
- Enjoy your print and remember, the more drypoint printing that you do, the better you will get! All printing, relief, lino cutting, etching is experimental!